How To Recall An Email In Outlook (Classic, New Outlook, And Mobile)

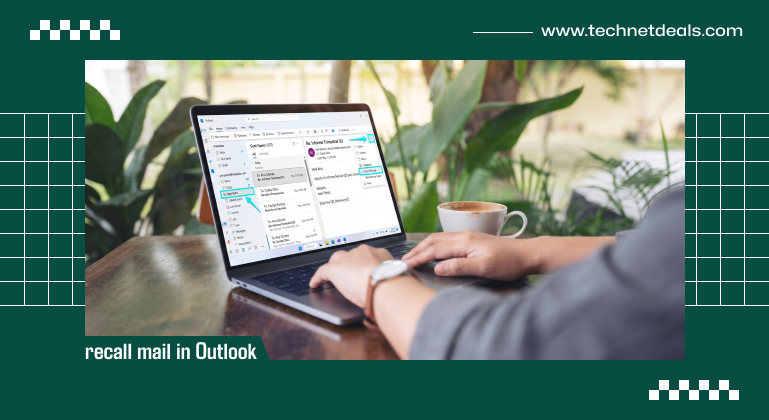
The topic of the day: How to recall mail in Outlook?
We’ve all been there. You send an email that really matters, then right away you spot the mistake – the attachment didn’t go through, you spelled your client’s name wrong, or, even worse, you sent it to the wrong person altogether.
Panic hits fast. You want that email back. And you want it back now.
I’ve spent a lot of time helping people out of these “oh no” moments with Outlook. Good news: you can recall emails.
But how it works depends entirely on where you’re sending from – classic desktop, the new Outlook, web browser, or your phone.
Microsoft has even changed how email recall works recently.
Now, instead of relying just on the old desktop feature (which was always a bit fragile), Outlook uses a cloud-based recall system. It makes things smoother, especially if you switch between devices.
Let’s walk through – step by step – how to recall an email in Outlook, no matter what device you’re using. I’ll lay out exactly what works, what doesn’t, and how to cover yourself for next time.
How To Recall Mail In Outlook: Rules For Outlook Email Recall
Before diving into clicks and menus, you need to know some ground rules. There’s a lot of misinformation floating around. People wonder why the recall button is missing. Or why, after they try to recall, nothing happens.
Note: If you don’t fit these rules, don’t sweat it yet. I’ll show you how to set up an “Undo Send” safety net so you won’t get burned again.
Here’s what you really need for the classic email recall to work:
1. The Corporate Boundary:
Both you and the recipient must use Microsoft 365 or Microsoft Exchange – work or school accounts within the same organization.
If you try to recall a message sent to a personal account (Gmail, Yahoo, Outlook.com), it won’t work. Cloud recall won’t go any further than your organization’s limits.
2. The Read/Unread Rule:
The message has to sit unopened in your recipient’s inbox. If they’ve opened it or an inbox rule sent it somewhere else, you’re out of luck.
How To Recall An Email In Classic Outlook For Desktop
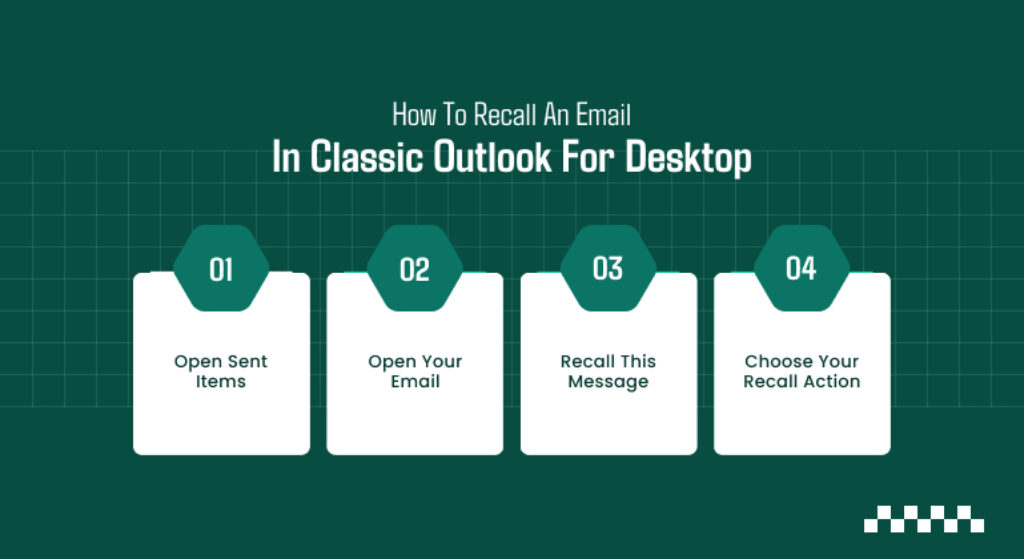
If you use the full Outlook desktop app with all those menu ribbons, here’s what to do:
1. Open Sent Items
Launch Outlook. On the left, find your Sent Items folder.
2. Open Your Email
Find that cringe-worthy email. Double-click it so it opens in its own window. Just clicking once or just seeing it in the reading pane isn’t enough.
3. Recall This Message
Now look at your top ribbon:
- Classic Ribbon: Stay on the Message tab. Find the Move group, click More Move Actions (the folder icon with an arrow), then choose Recall This Message.
- Simplified Ribbon: Click the three dots (…) on the right, hover over Actions, then select Recall This Message.
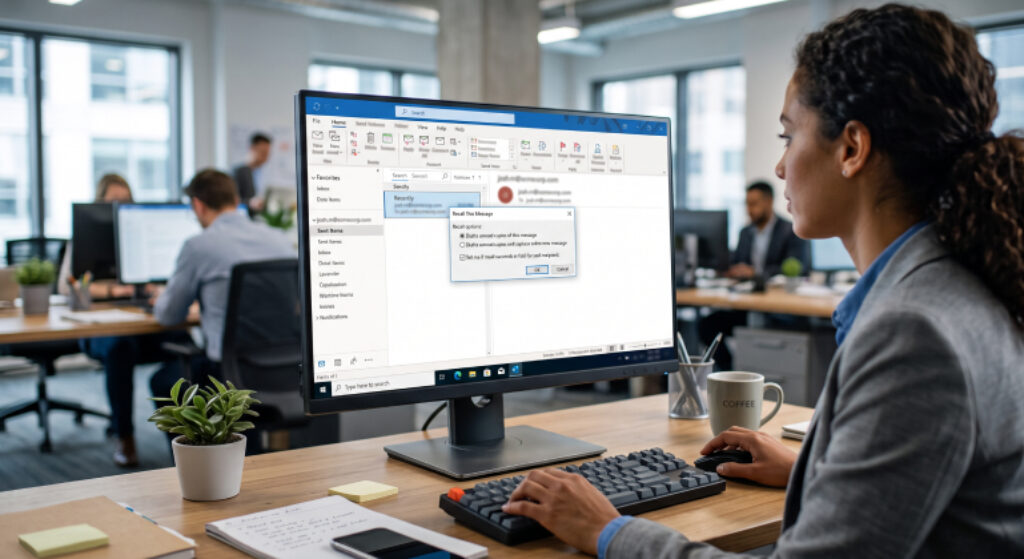
4. Choose Your Recall Action
A pop-up shows up. You get two choices:
- Delete unread copies: Pulls the email back, if nobody’s opened it yet.
- Delete and replace: Pulls back the email and instantly opens a blank compose window, so you can send the corrected message right away.
Definitely check the little box that says “Tell me if recall succeeds or fails for each recipient.” Outlook will send you a full recall report in a few minutes. It spells out exactly who got spared from your mistake.
Also Check: Microsoft Disables Its Own App Installer After Rapid Ransomware Attacks
How To Recall Mail In New Outlook And Web
Microsoft’s modern Outlook apps – the web version and “New Outlook” desktop – work differently. They both use the new, better cloud recall system.
Here’s how you use it:
- Open the New Outlook app, or log in on your browser.
- Go to Sent Items.
- Click the email you want to recall. It’ll open up in the reading window.
- Look to the top right. Click the three dots (…) for More Actions.
- Select Advanced actions, then Recall message.
- Confirm on the pop-up.
Outlook’s cloud system tries to remove the email right away. You’ll get an email link to a status page showing who the recall worked for – and who’d already opened it.
How To Recall Mail In Outlook Mobile
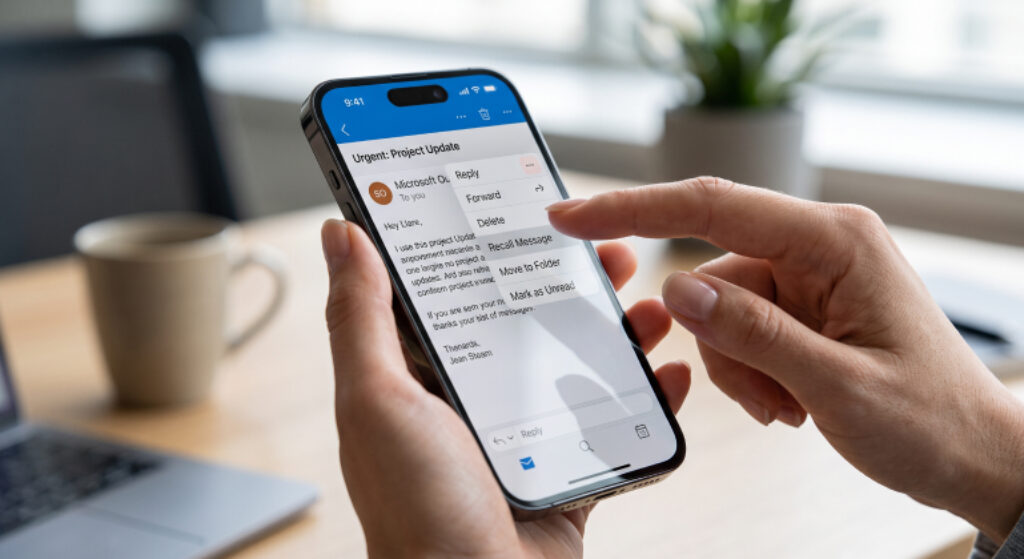
If you messed up on your phone, you’re not totally stuck anymore. The Outlook mobile app finally supports recall – if your organization’s using the right backend.
Using Native Mobile Recall
Here’s how it should be:
- Open the Outlook app.
- Tap your profile icon or the main menu, then tap Sent.
- Open the email you wish you could unsend.
- Look for the three dots (…) at the top right (in the email header).
- Find Recall. Tap it. Confirm.
No recall option showing up? You probably use a personal account or your IT team hasn’t turned on the feature.
How To Use Undo Send As A Backup
If Outlook recall isn’t an option (and honestly, it often isn’t), you can still protect yourself. Enable “Undo Send” to add a safety delay before your emails actually go out. Here’s how:
- Click the Gear (Settings) in the top right.
- Go to Mail, then Compose and reply.
- Scroll to Undo send.
- Set the delay you want, up to 10 seconds.
- Save.
Next time you send an email, you’ll see a quick “Sending…” banner with an Undo button. Smash that button and you stop the email cold before it escapes. Total lifesaver.
Managing Email And Teams Together
Covering your tracks with Outlook is just the start. These days, email blurs right into real-time messaging with apps like Microsoft Teams.
If you work in the Microsoft universe, you’re probably bouncing from Outlook to Teams all day. Short messages fit better in Teams than flooding everyone’s inbox.
One last tip: when you step away from your desk, Teams often marks you as “Away” right away. Frustrating when you’re just reading a document or focusing on work.
You can use tricks – like mouse movers or adjusting presentation settings – to make sure your status stays “Active” so coworkers know you’re still on task. I have covered how to keep your Teams status green in my previous blog. Check that out!
Why An Outlook Recall Might Fail (And What To Do Next)
Even if you follow all the steps, Outlook recall is famous for being hit-or-miss. Here’s why:
1. The recipient’s phone or desktop might show a preview. If they see your message in a pop-up, they’ve “read” it already – even if the main email later disappears.
2. Some setups mark emails as “read” the moment they show up in the preview pane. If the recipient is sitting at their screen, you’ve got basically zero window.
3. If the recall does fail, don’t panic-spam recall requests. You’ll only draw more attention to the mistake.
Instead, own up to it fast.
Just send a new email with a subject like “Correction: Updated Attachment for [Project Name].” Keep the message short and direct.
Say: “Please disregard my previous email. Here’s the correct version. Apologies for any confusion!”
People appreciate honesty way more than chasing after a perfect recall. In the end, tech can help you out. But nothing beats quick honesty and clear communication.