Apple products have become one of the most popular brands of gadgets due to their high-quality premium products. From America’s favorite iPhones and Macbooks to Apple Watches, iPads, and more – everything has a warranty period. But how do you Apple Warranty Check?
In this post, you will learn how to check Apple warranty status of your Apple devices. Plus, you will learn how to buy or upgrade your warranty as per various AppleCare plans.
How To Apple Warranty Check?

It’s no rocket science that all Apple products have a one-year warranty by default. However, after using your Apple device for many months, most will forget which is the exact date they purchased their device, starting their one-year Apple Warranty period.
However, if you forget how much warranty time and period you have left, then fear not. There are many ways to conduct an Apple Warranty check. They are all processes where you only need to follow a few steps.
1. Check Apple Warranty Status On Mac & Macbook

If you wish to Apple Warranty check on your Mac computer or Macbook, then you only need to know your Apple ID credentials. Learning this makes it an essential part of any laptop buying guide.
With this information in hand, all you need to do is follow the steps below:
- First, go to the official Apple website.
- On the top options bar on the homepage, you will find an option called “Support.” Click on it.
- Now, the Apple Support page will open up. Here, scroll down to the “My Support” section and click on it.
- As you click on the “My Support” option, you will be requested to Sign in to My Support, which you need to do by clicking on the blue highlighted option.
- As you sign in to My Support, you will be requested to provide your Apple ID credentials. Do so, and a new page will open up.
- On this new page, you will find all your Apple devices listed here. All you need to do now is click on your device (which appears with your name – for example, John’s Macbook).
- As you click on your device, all your Apple warranty check will show up on the screen.
2. Check Apple Warranty Status On iPhone & iPad

Conducting an Apple warranty Check on your iPhone or iPad is easier than checking it on a Macbook or Mac. This is because you don’t even need to open a website using a browser!
All your Apple warranty information is available right there on your iPhone and iPad! Knowing this is an essential part of your smartphone buying guide.
To Apple iPhone Warranty check (and iPad), follow the steps as explained below (which is similar to the Nothing Phone 2 warranty check process):
- First, go to Settings.
- Once you open Settings, navigate to the General option and click on it.
- In General, click on the topmost option – About.
- In your phone’s About section, go to the AppleCare+ option and click on it.
- Once you click on the option above, click on the Coverage option next.
- If you have an AppleCare+ subscription, it will be shown here. Click on it to check warranty Apple.
- If you don’t have an active AppleCare+ subscription, then you will be shown two other options instead – Limited Warranty or Coverage Expired. Click on whichever of these options you see to reveal your Apple warranty status.
3. Check Apple Warranty Status Online Using Device Serial Number

If, for some reason, both these methods above do not work out for you, then sweat not. There is another “universal” method of doing an Apple Warranty check.
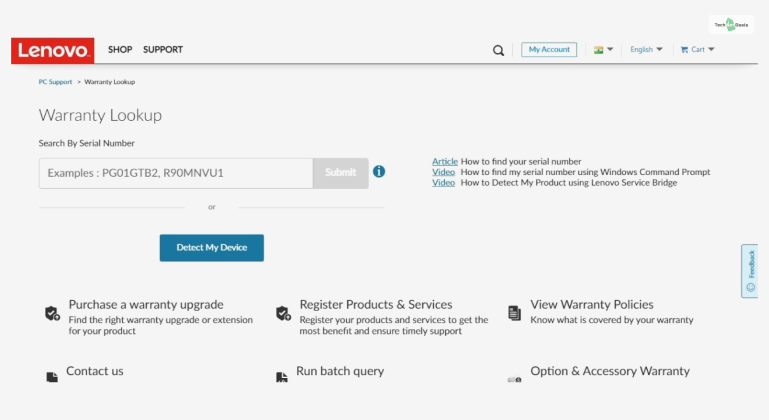
To follow this method to warranty check Apple devices, all you need in hand is the serial number of your Apple device. This process is similar to the Lenovo warranty check process.
You will get the serial number of your iPhone or iPad by:
- First, go to Settings.
- Here, tap on General.
- Next, tap on About.
- Here, you will get to see the serial number of your device.
For Mac computer and Macbook users, you can Apple Warranty check to find your device serial number by:
- First, click on the Apple menu.
- Next, click on About this Mac.
- Here, you will get to see the serial number of your device.
Now that you know your Apple device serial number, you can start an Apple serial warranty check by:
- First, go to the official Apple website.
- On the top options bar on the homepage, you will find an option called “Support.” Click on it.
- Now, the Apple Support page will open up. Here, scroll down to the “My Support” section and click on it.
- Here, you will see an option called Get Support. Click on it.
- Now, click on the “AppleCare+ or Warranty Information” option.
- When the next page opens, click on the “Check AppleCare+ or Warranty Coverage” option.
- Now, click on Continue.
- Once you do so, you will see an option called “Check Your Coverage” with a green tick mark. Below this option, you will find the “Get Started” button. Click on it.
- A new page will open up now, where you must give your Apple serial number and then complete a captcha challenge. After you do these, you will be shown your Apple device warranty coverage information.
How To Extend Apple Warranty Status Using AppleCare+?

Did you know that you can extend your Apple device warranty and coverage by buying an AppleCare plan?
An AppleCare+ plan will allow you to extend your warranty for a maximum of three years. To buy an AppleCare+ plan, here’s what you need to do:
- First, go to the official Apple website.
- On the top options bar on the homepage, you will find an option called “Support.” Click on it.
- Now, the Apple Support page will open up. Here, scroll down to the “My Support” section and click on it.
- On the bottom of the page, you will find an option called “Get AppleCare+” – click on it.
Now, you will be presented with the AppleCare+ price list, each of which pertains to different Apple products. Choose the one you want )as per your device) and proceed to check out.
After the checkout step is completed, you will get an email confirming your purchase. After it’s confirmed, do an Apple Warranty check. The updated warranty information will show up there.
Conclusion: Apple Warranty – Check!
Conducting an Apple Warranty check is essential for staying up to date with the time left until your Apple warranty and coverage are finished. Therefore, knowing this makes you better prepared to take action if your Apple device faces any issues.
If you have any queries regarding the Apple Warranty check, comment down below!
More Resources:


